Quick Links
The Illuminate are a formidable enemy in Helldivers 2, known for their advanced technologies and overwhelming precision. As you tackle their light infantry, their elite units will close in from both the ground and air. To triumph over them, you need to craft loadouts and builds that exploit their weaknesses while countering their powerful tech.
So, how do you effectively combat the Illuminate? It's all about finding the perfect mix of weapons, support gear, and stratagems to handle their unique strengths. You must balance your arsenal to deal with both the chaff and the armored/heavy units. Neglecting either type will render your loadout ineffective against the full might of the Illuminate horde.
In this guide, we'll explore the best loadouts and builds tailored specifically for battling the Illuminate. Whether you're a seasoned player or just starting out, these strategies will boost your combat effectiveness against this new, squid-like faction. Let's gear up and prepare to face the Illuminate head-on.
The Laser Cannon Loadout: Melting the Illuminate
Primary
PLAS-1 Scorcher / PLAS-101 Purifier
Secondary
GP-31 Grenade Pistol
Grenade
G-13 Incendiary Impact
Armor Passive
Siege-Ready
Stratagems
- LAS-98 Laser Cannon (Support)
- AX/AR-23 "Guard Dog"
- Eagle Strafing Run
- A/MG-43 Machine Gun Sentry / Orbital Laser
The PLAS-1 Scorcher and PLAS-101 Purifier are among the top primary weapons in Helldivers 2. They excel at melting Overseers, including jet-pack-equipped Elevated units, and are equally effective against the Voteless. The Siege-Ready armor passive provides additional ammunition and quick reloads, ensuring you can handle multiple priority targets. The increased damage per second is crucial when every shot counts.
The Eagle Strafing Run and GP-31 Grenade Pistol form a potent combo for destroying parked warp ships. Energy-based weapons struggle to deplete their shields, but a single Strafing Run can destroy the shields of every grounded warp ship in a straight line. Follow up by shooting a grenade into their open bay doors to cause an explosion. This strategy is particularly effective when clearing medium or heavy Illuminate nests with multiple warp ships. While the G-13 Incendiary Impact can also be used in the open bay doors, it's more effective against chaff, so save it for when you're using the Grenade Pistol.
The AX/AR-23 "Guard Dog" is surprisingly effective against medium-armored Overseers. Each burst can take down a single elite unit, making it an excellent choice for watching your flank against the Illuminate.
The A/MG-43 Machine Gun Sentry helps lock down areas when defending objectives. If crowd control isn't a priority, you can swap it for an Orbital Laser to target Harvesters or potential future heavy units.
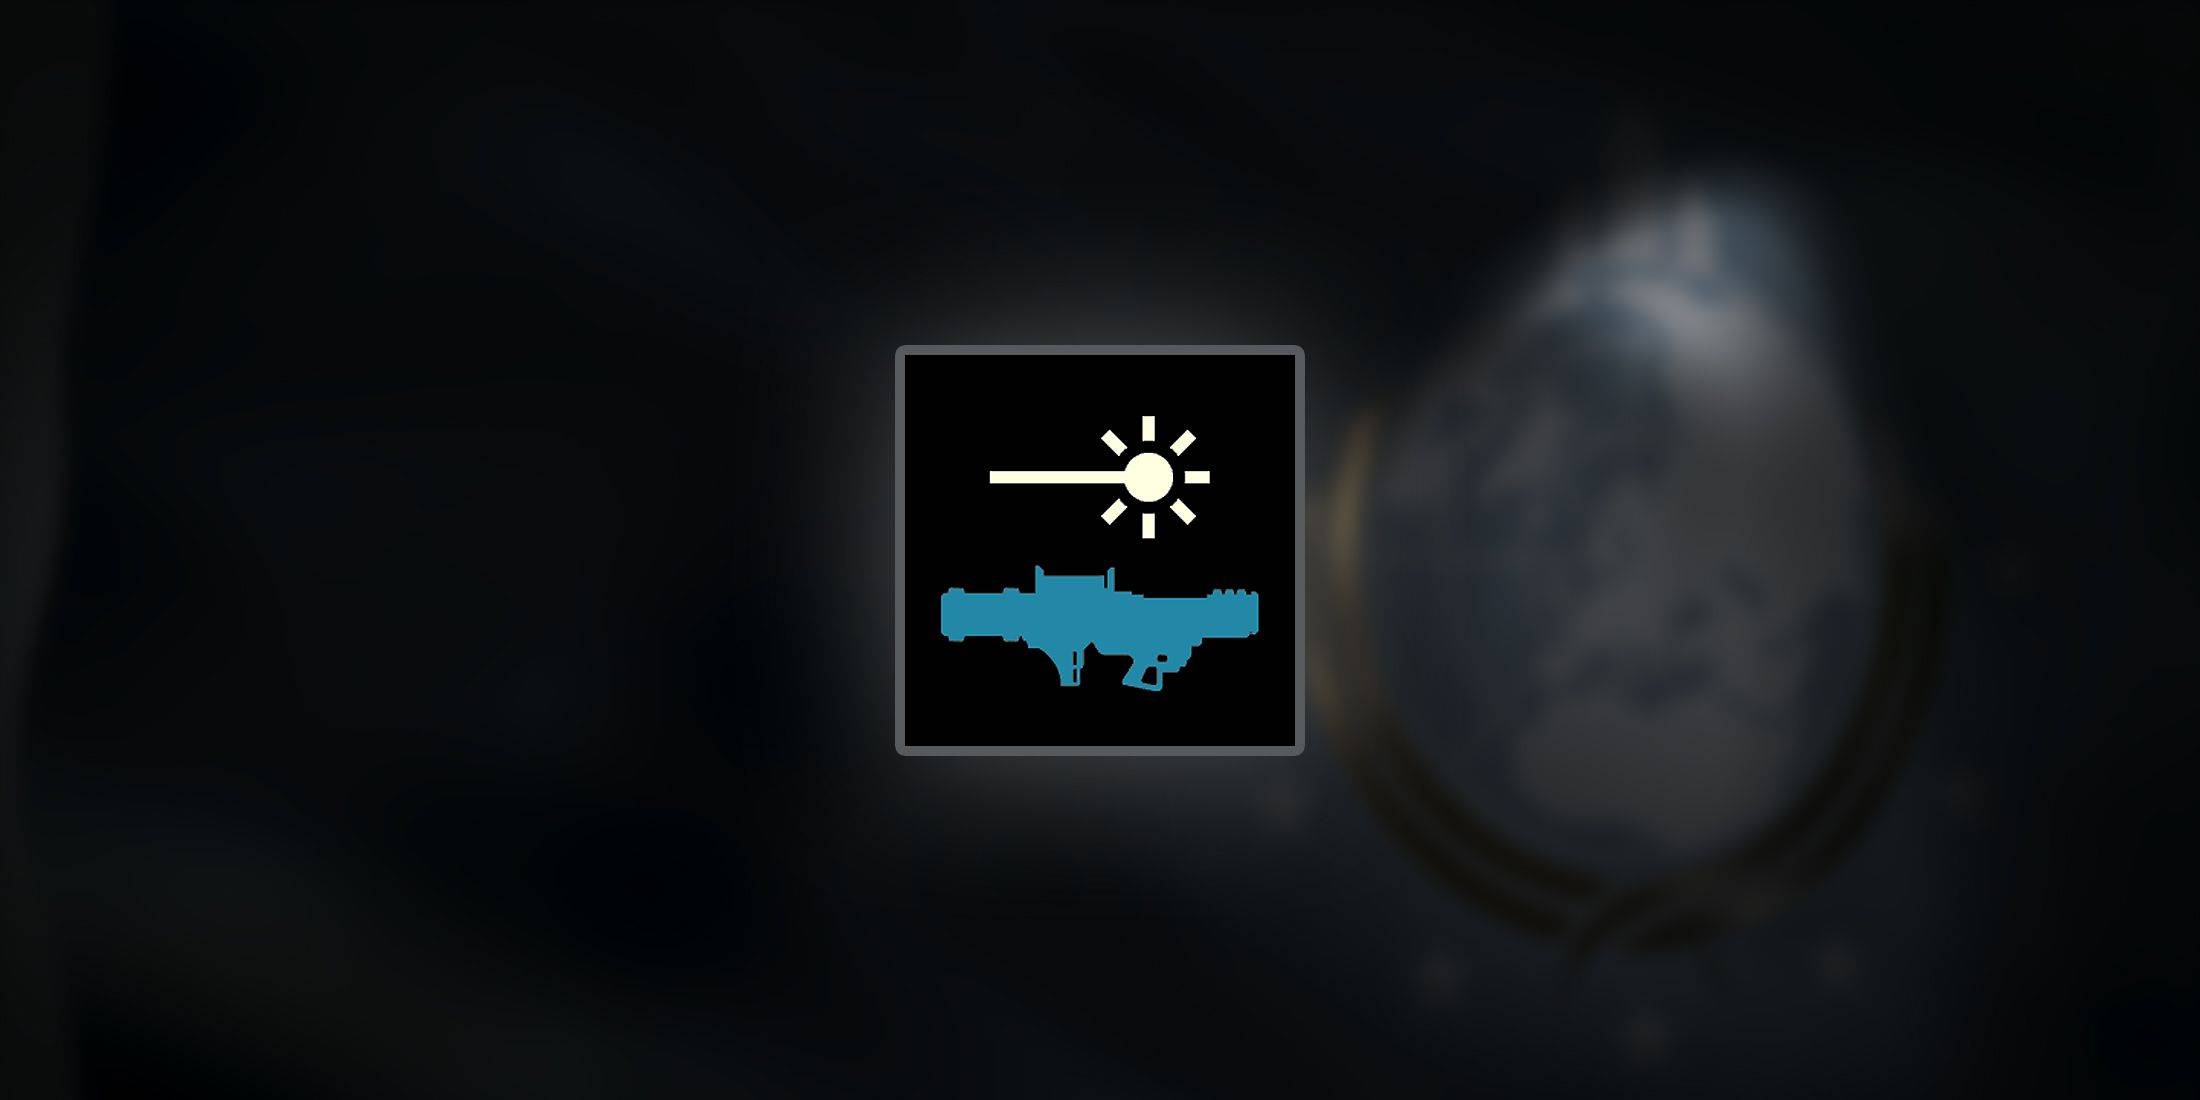
Finally, the LAS-98 Laser Cannon completes this loadout. It melts Overseers and chaff within seconds and is excellent against Harvesters. Use a Strafing Run to deplete their shields, then target the Harvesters' weak points (thighs/eyes) with the Laser Cannon. A single clip is sufficient if your aim is steady. The Laser Cannon's massive range allows you to pick off targets from afar, making it an ideal anti-squid weapon.
On level 9 or 10 difficulty, where multiple Harvesters are common, having an Orbital Laser becomes essential.
The Lightning Loadout: Shocking (& Staggering) the Illuminate

Primary
ARC-12 Blitzer
Secondary
GP-31 Grenade Pistol
Grenade
G-13 Incendiary Impact
Armor Passive
Electrical Conduit / Med-Kit
Stratagems
- ARC-3 Arc Thrower (Support)
- Orbital Railcannon Strike / Orbital Laser
- Eagle Strafing Run
- A/ARC-3 Tesla Tower
The Illuminate's mix of melee and ranged units makes the ARC-12 Blitzer and ARC-3 Arc Thrower perfect for covering both fronts. They easily dispatch chaff, but the Arc Thrower has the added benefit of rendering Overseers nearly useless. Each lightning arc chains and staggers, stunning Overseers briefly. Continuous attacks from a distance can keep Elevated Overseers perma-stunned in mid-air.
The Arc Thrower can also take down unshielded Harvesters, requiring about a dozen hits, each causing a moderate stun that accumulates over time.
The A/ARC-3 Tesla Tower is highly effective against all Illuminate types, especially flying Overseers. It provides consistent crowd control and disrupts enemies, making it easier to manage large waves. Combine it with the Arc Thrower for multiple chained lightning attacks to lock down an area. Target priority enemies with the Arc Thrower to prevent them from reaching your Tesla Tower.
Harvesters prioritize sentries, so avoid deploying your Tesla Tower or other sentry stratagems if you're already engaging them.
The Eagle Strafing Run and Grenade Pistol are essential for destroying parked warp ships. The Blitzer and Arc Thrower are inefficient at depleting their shields during combat, so don't replace them unless another teammate can handle this task.
For dealing with heavies, the Orbital Railcannon Strike is excellent due to its unlimited uses. The Orbital Laser is effective against multiple Harvesters, but its limited uses mean you'll eventually rely on your teammates. Always use a Strafing Run to disable their shields first. This build is one of the most powerful against the Illuminate, especially when coordinated with other players.
The Machine Gun Loadout: Shredding the Illuminate

Primary
StA-52 Assault Rifle
Secondary
GP-31 Grenade Pistol / CQC-19 Stun Lance
Grenade
G-13 Incendiary Impact
Armor Passive
Peak Physique / Engineering Kit
Stratagems
- MG-43 Machine Gun (Support)
- LIFT-850 Jump Pack
- Orbital Railcannon Strike / Orbital Laser
- A/MG-43 Machine Gun Sentry / A/G-16 Gatling Sentry
The MG-43 Machine Gun is the most versatile support weapon against the Illuminate, making it a top choice for this loadout. It effortlessly shreds light and medium enemies, as well as Harvesters. Compared to the MG-206 Heavy Machine Gun, the standard Machine Gun offers better handling and faster infantry dispatch.
It's a true jack-of-all-trades against the squids, providing a perfect balance of power and reliability. Pair it with the Engineering Kit to reduce recoil or the Peak Physique armor passive to minimize drag, making it easier to target flying Overseers or Watchers.
The high fire rate is effective at depleting shields, eliminating the need for the Eagle Strafing Run to destroy grounded warp ships. Instead, opt for turret sentries to disperse large crowds or defend objectives.
The Machine Gun's stationary reload animation is a drawback, but the LIFT-850 Jump Pack helps you quickly relocate to safety and navigate urban maps more easily.
While the Machine Gun can easily defeat Harvesters by targeting their weak spots, having an Orbital stratagem in your build is crucial for dealing with multiple heavies. The Orbital Laser can handle two to three shielded Harvesters at once, whereas the Railcannon Strike is only effective against unshielded targets.
For the primary weapon, you can choose any from the Armory. If you want to maintain the bullet-storm theme, go for the StA-52 Assault Rifle from the Helldivers 2 x Killzone 2 crossover. It features a massive drum magazine for sustained fire, penetrating light armor and delivering damage comparable to the standard Liberator.
 LATEST ARTICLES