Unleash the Power of Retro Gaming on Your Steam Deck: A Comprehensive Guide to EmuDeck and Sega Master System
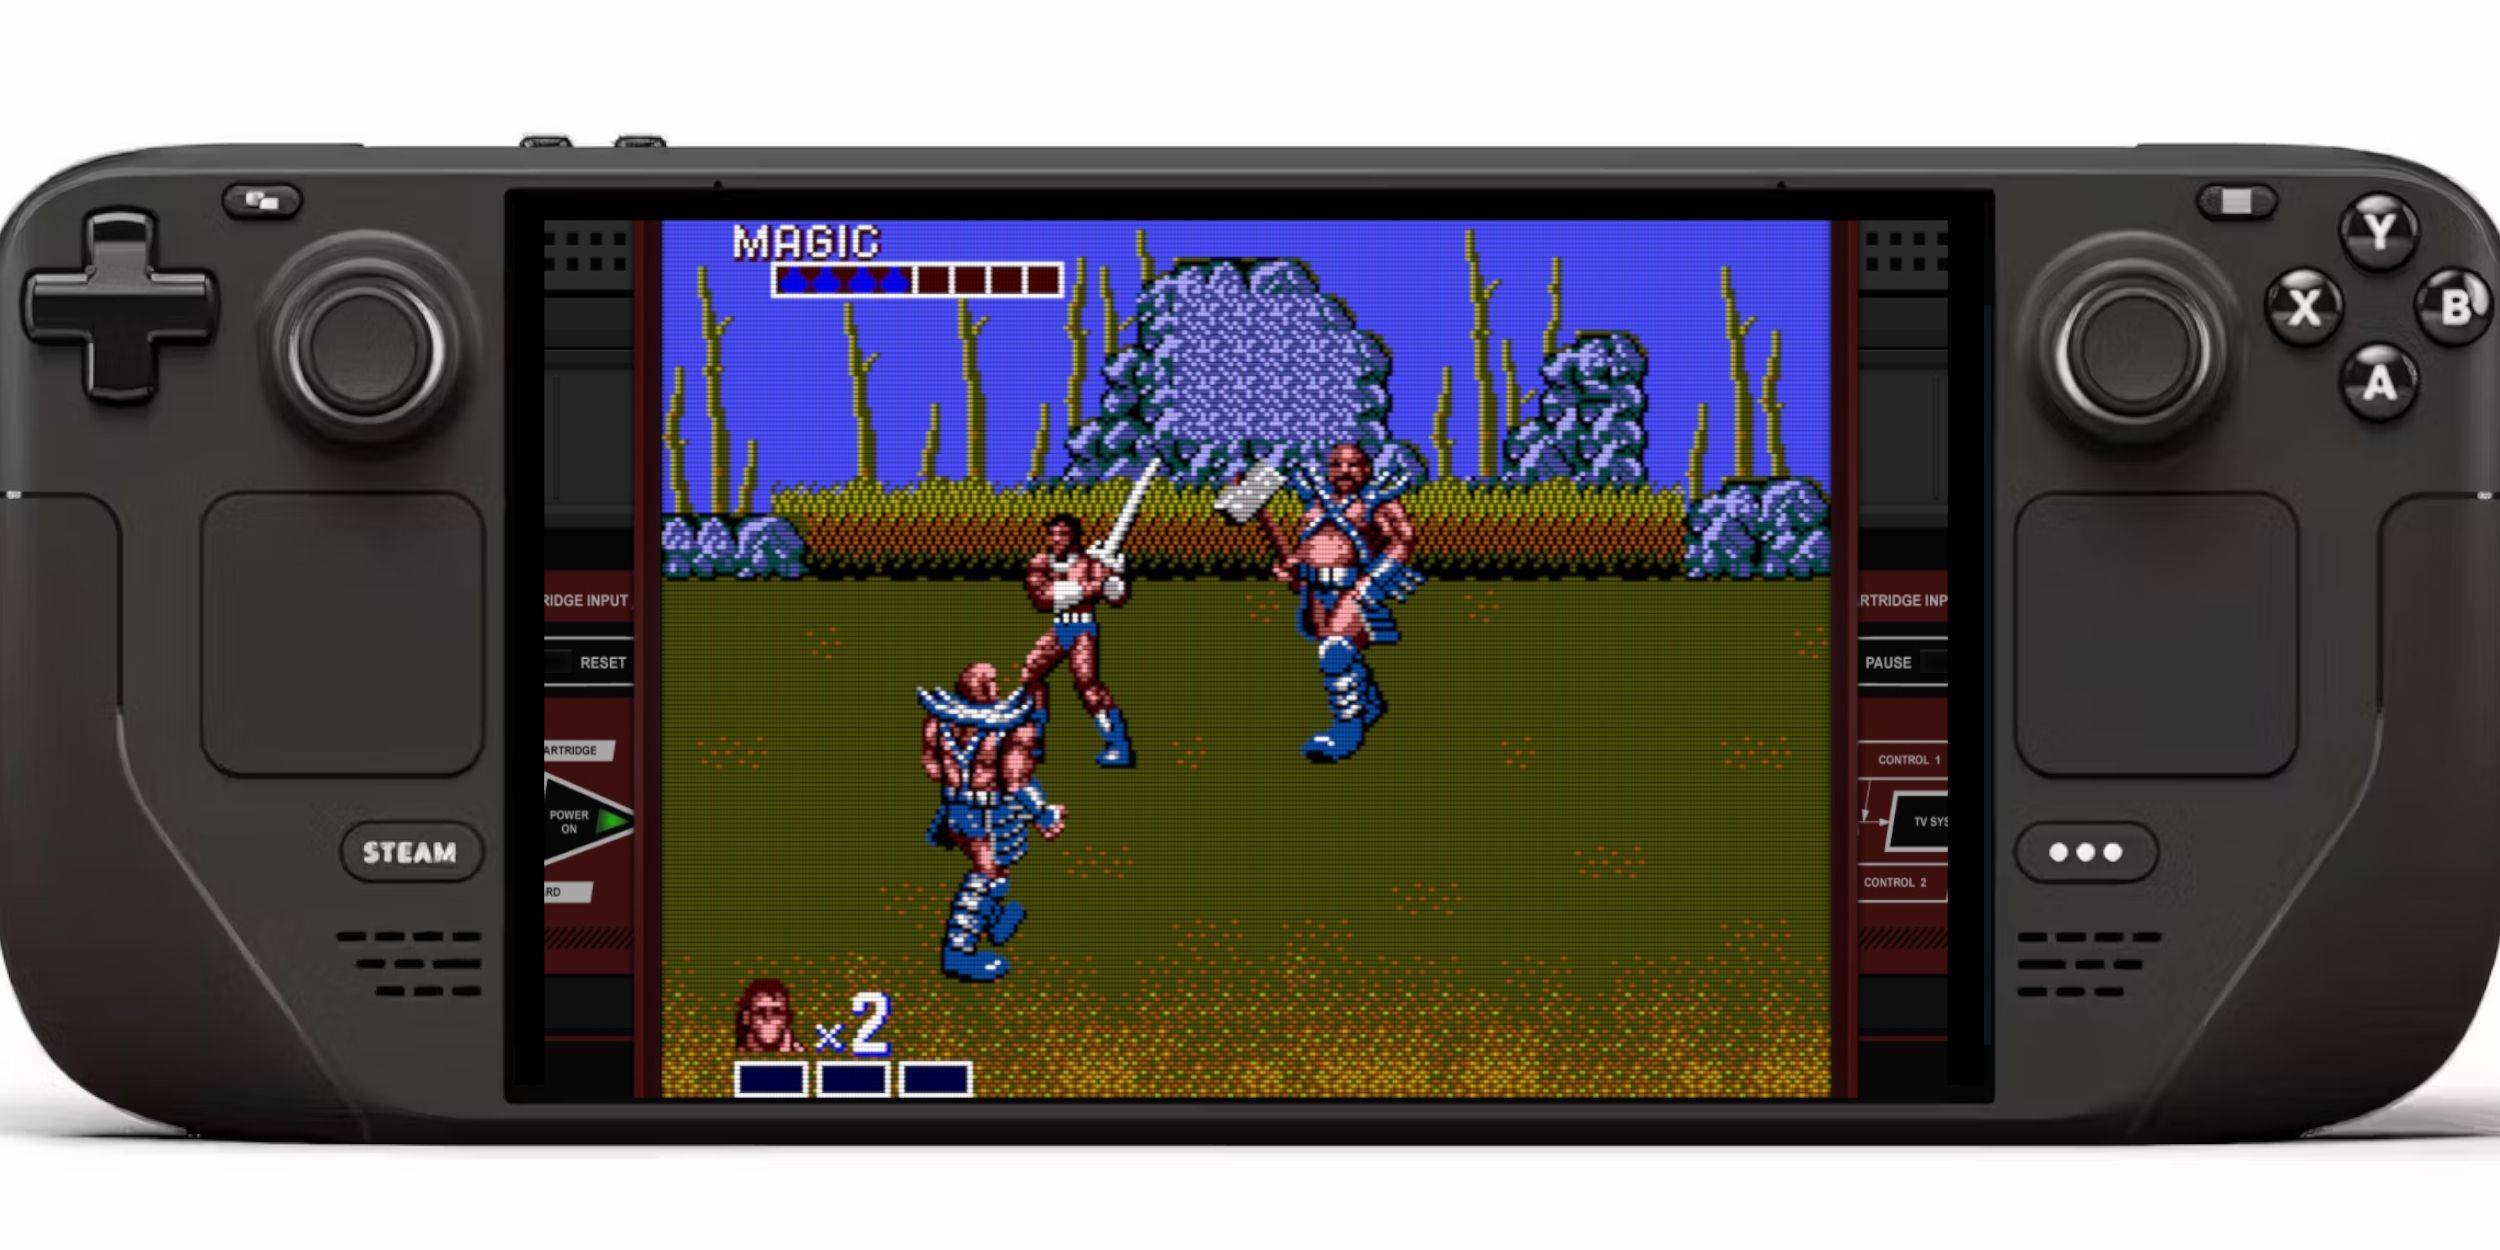
The Sega Master System, a classic 8-bit console, boasts a library of fantastic games, including unique versions and exclusives like Golden Axe, Double Dragon, and Streets of Rage. Even titles like Mortal Kombat and Asterix & Obelix pushed the system's boundaries, delivering near-16-bit experiences.
While playing Master System games on modern hardware can be challenging, the Steam Deck, combined with EmuDeck, makes it surprisingly easy. This guide details the setup process, including crucial performance optimizations.
Updated January 15, 2024: This guide has been updated to include Decky Loader and Power Tools, recommended by EmuDeck developers for enhanced retro gaming performance and to address potential issues after Steam Deck updates.
Before You Begin
Before installing EmuDeck, ensure you have:
- A fully charged or plugged-in Steam Deck.
- A high-speed microSD card (formatted within the Steam Deck) or an external HDD (note: this will reduce portability).
- A keyboard and mouse (optional, but highly recommended for easier file transfers and installations). If using only the Steam Deck, use the on-screen keyboard (Steam + X buttons).
Enable Developer Mode
Enabling Developer Mode is crucial for smooth emulator operation:
- Access the Steam menu (Steam button).
- Go to System > System Settings.
- Enable Developer Mode.
- Access the Developer menu (bottom of the Steam menu).
- Under Miscellaneous, enable CEF Remote Debugging.
- Restart your Steam Deck.
Remember to check CEF Remote Debugging after updates, as it can be disabled.
Installing EmuDeck in Desktop Mode

- Switch to Desktop Mode (Steam button > Power > Desktop Mode).
- Download EmuDeck using a browser (Chrome or Firefox). Choose the appropriate SteamOS version.
- Run the installer, selecting Custom Install.
- During installation, select your SD card as the primary drive. This renames it "Primary" for easier identification in the Dolphin file manager.
- Choose your desired emulators (at least RetroArch for Sega Master System).
- Ensure Steam ROM Manager is selected with RetroArch for Steam library integration.
- Enable "Configure CRT Shader for Classic 3D Games" (optional, for a retro visual style).
- Complete the installation.
Transferring Master System ROMs
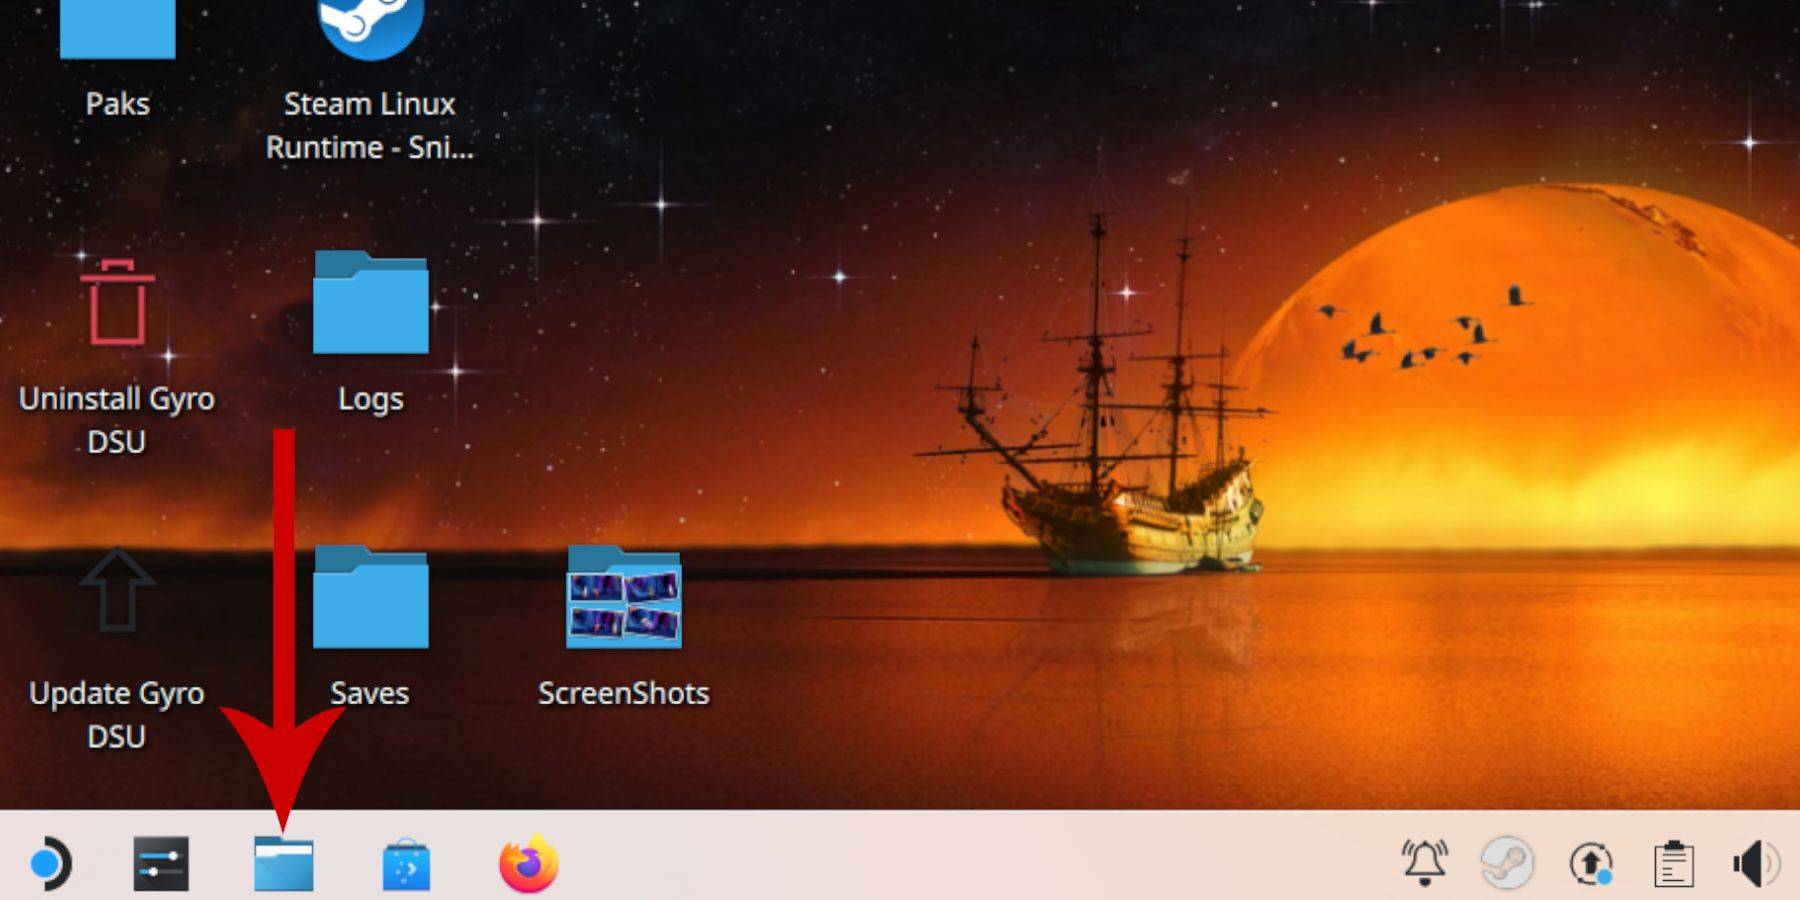
- Open the Dolphin File Manager.
- Navigate to Removable Devices > Primary (your SD card).
- Go to Emulation > ROMS > mastersystem.
- Copy your Sega Master System ROMs (
.sms files) into this folder. Ignore the media file.
Adding Games to the Steam Library
- Open EmuDeck in Desktop Mode.
- Launch Steam ROM Manager.
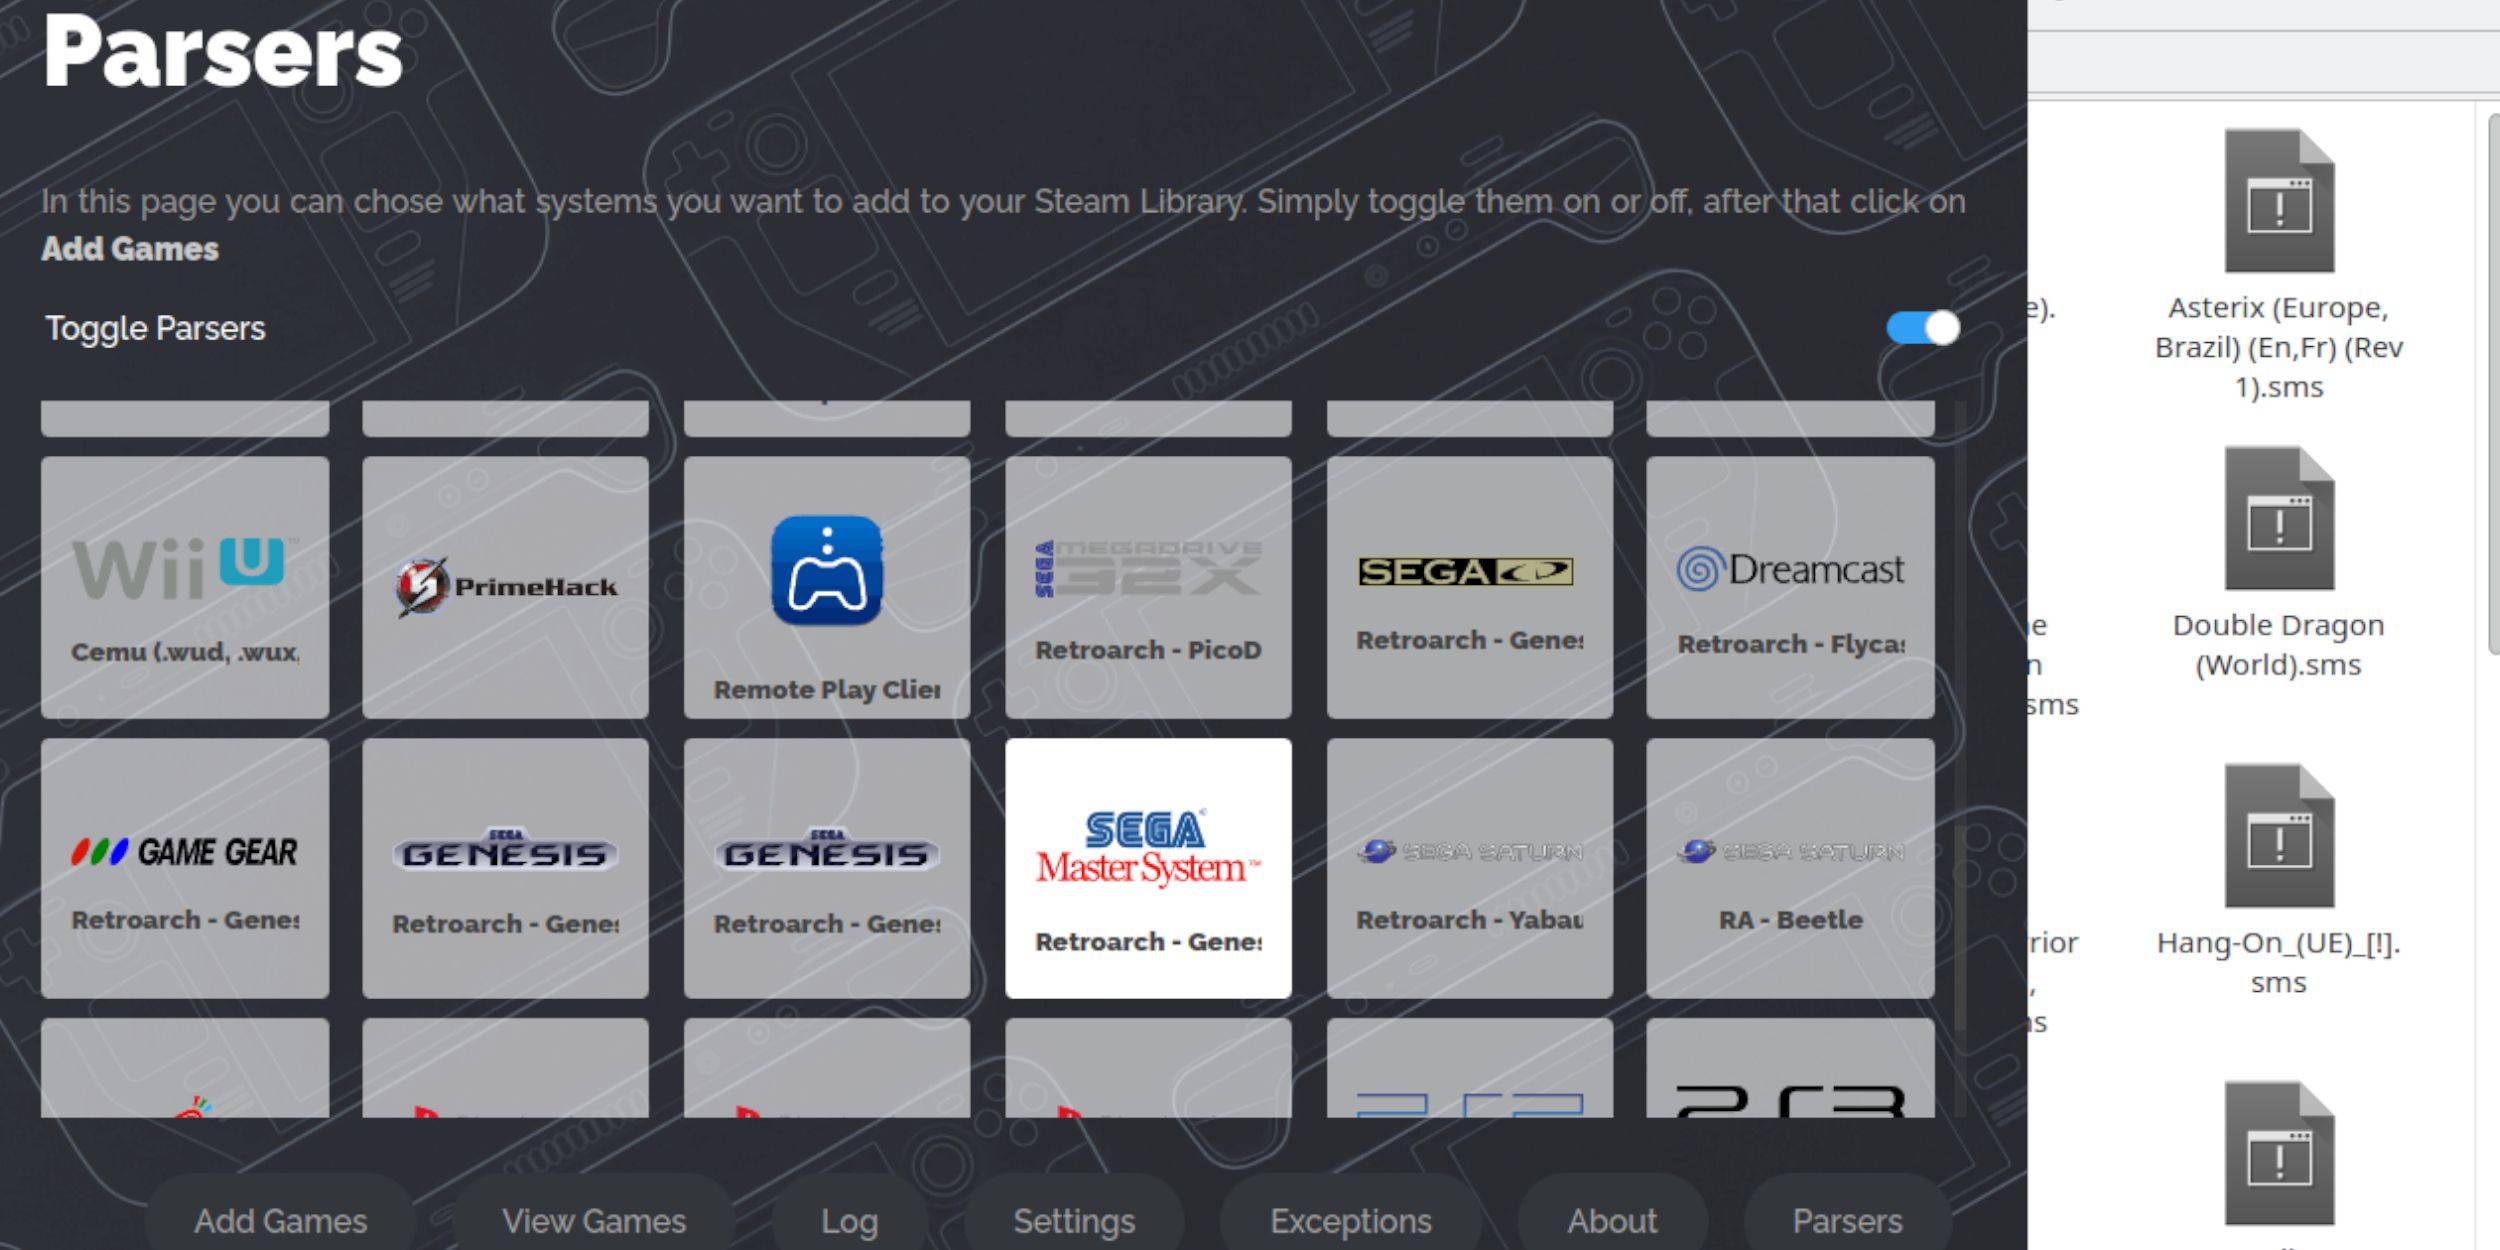
- Follow the on-screen instructions, disabling Parsers except for Sega Master System.
- Add and parse your games.
- Save to Steam.
Fixing or Uploading Missing Artwork
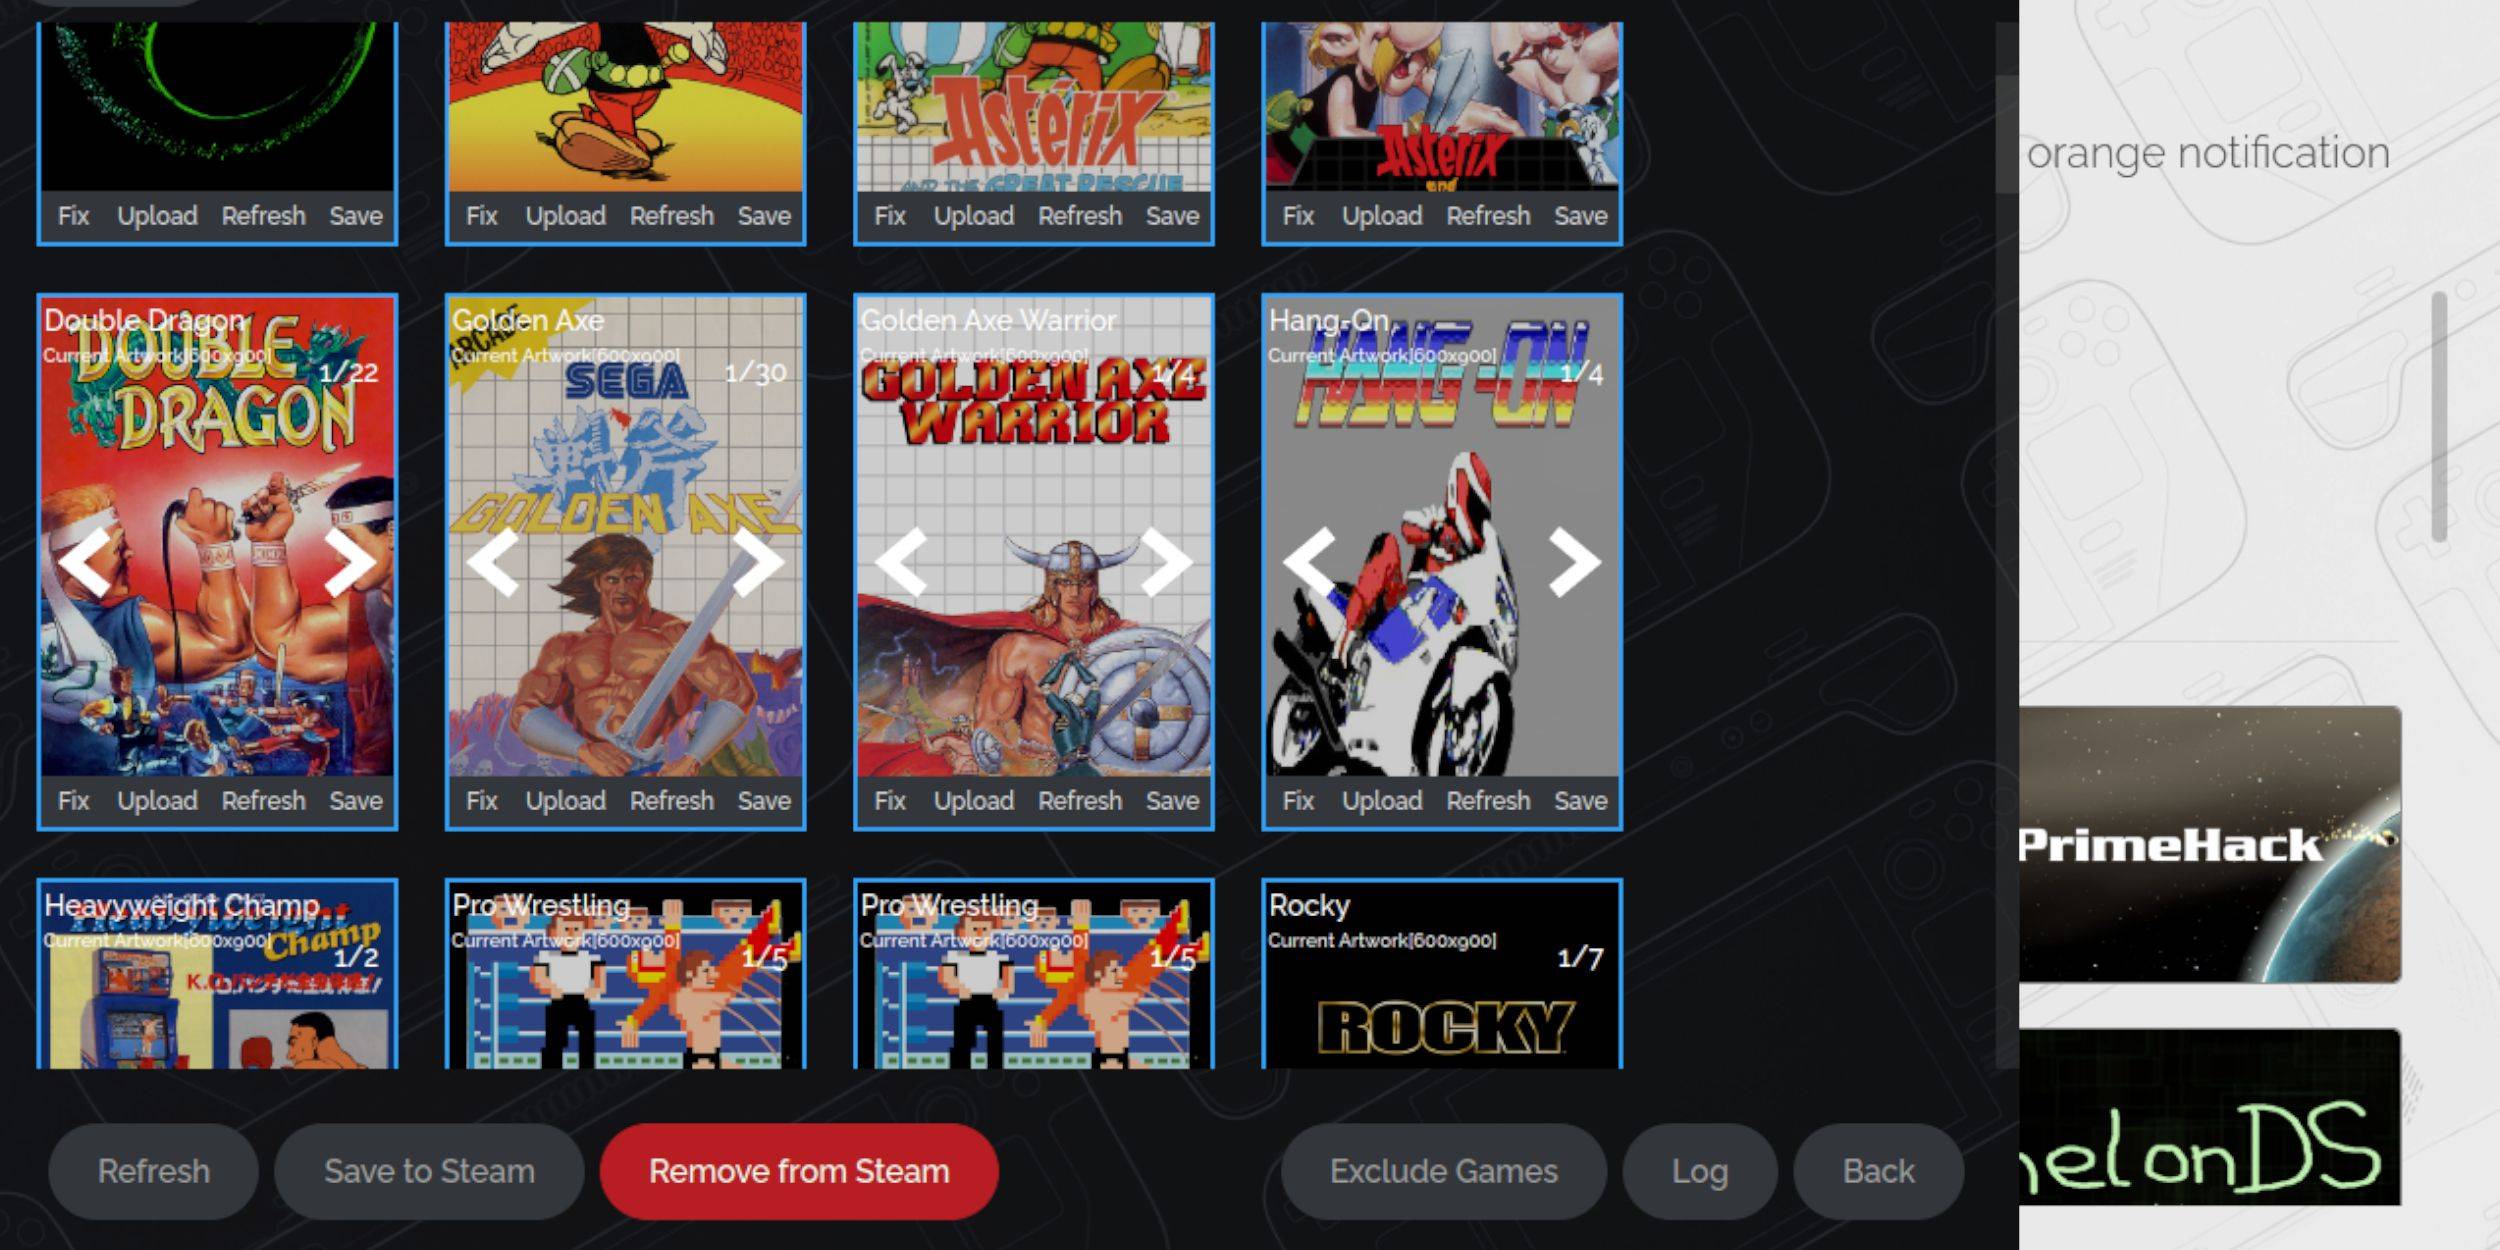
Use the Steam ROM Manager's "Fix" function to automatically find artwork. If it fails, use "Upload" to manually add artwork from your Steam Deck's Pictures folder.
Playing Your Games
- Switch to Gaming Mode.
- Open your Steam Library.
- Navigate to your Sega Master System collection.
- Select a game to play.
Improving Performance
To address potential stuttering:
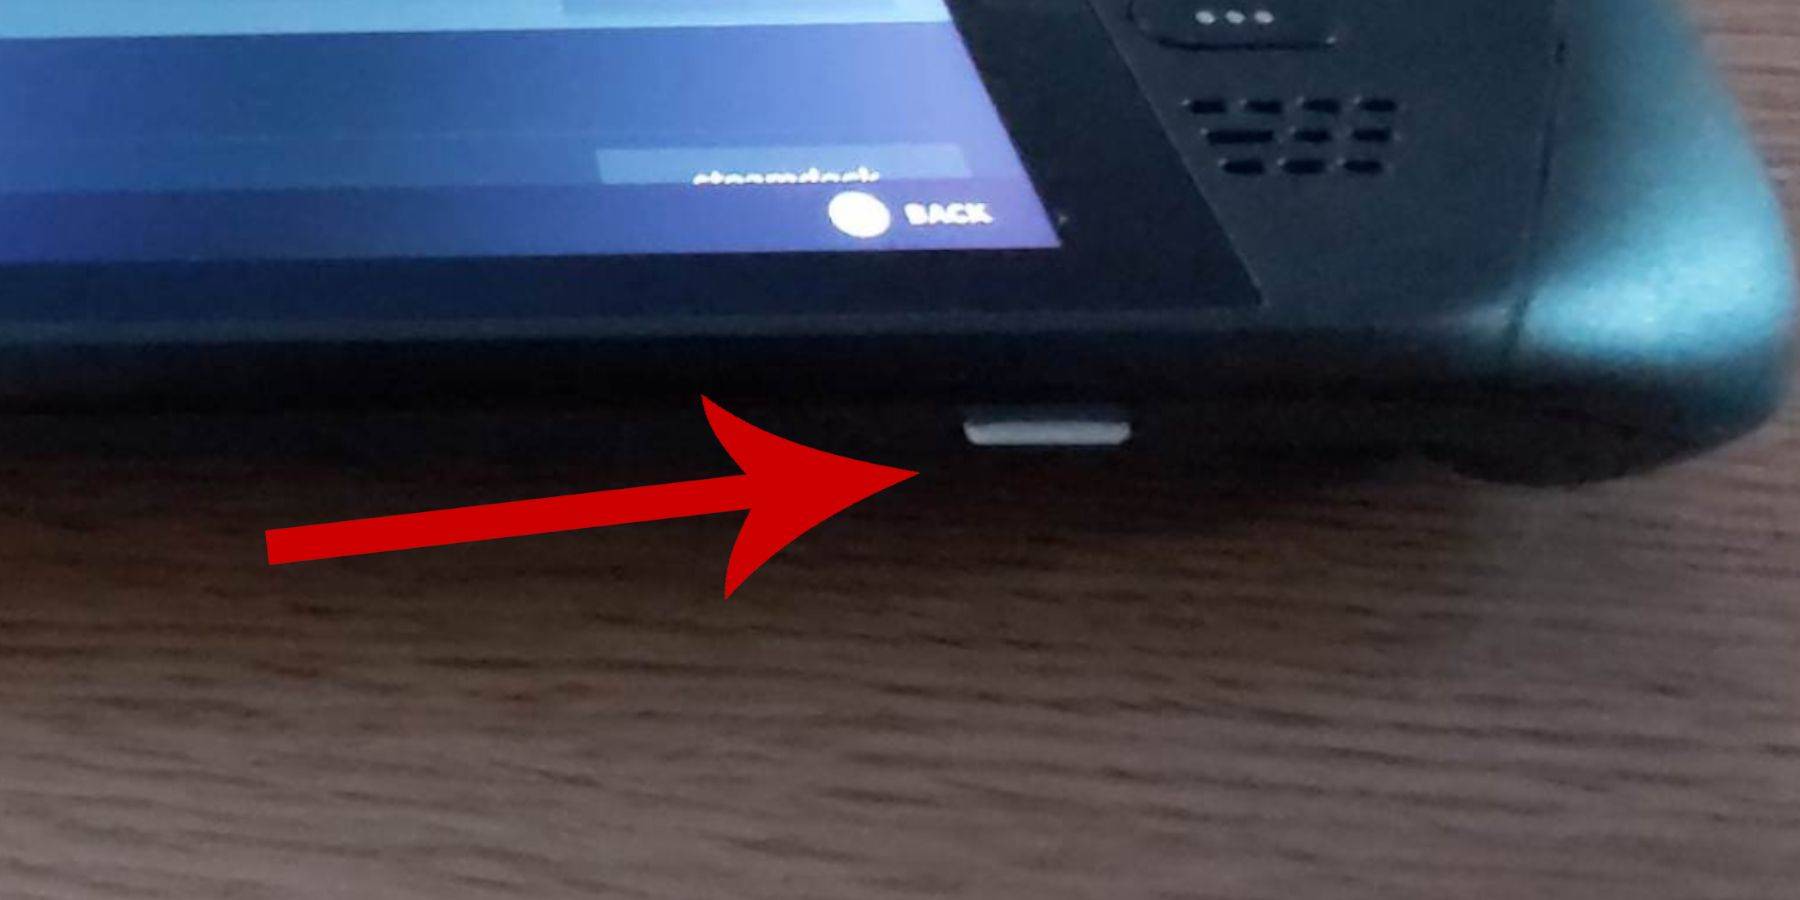
- Launch a game and open the Quick Access Menu (QAM, button below the right trackpad).
- Go to Performance.
- Enable "Use game profile".
- Set Frame Limit to 60 FPS.
- Enable Half Rate Shading.
Installing Decky Loader and Power Tools
- Switch to Desktop Mode.
- Download Decky Loader from its GitHub page.
- Run the installer, choosing Recommended Install.
- Restart in Gaming Mode.
- Install the Power Tools plugin via the Decky Loader store (QAM > Decky Loader > Store).
Power Tools Settings
- Launch a game.
- Open Power Tools (QAM > Decky Loader > Power Tools).
- Disable SMTs.
- Set Threads to 4.
- Open the Performance menu (QAM > Performance).
- Enable Advanced View.
- Enable Manual GPU Clock Control.
- Set GPU Clock Frequency to 1200.
- Save per-game profiles.
Fixing Decky Loader After a Steam Deck Update

After a Steam Deck update:
- Switch to Desktop Mode.
- Re-download and run the Decky Loader installer (select Execute).
- Enter your pseudo password (create one if needed).
- Restart in Gaming Mode.

Enjoy your retro gaming experience on the Steam Deck!
 LATEST ARTICLES